Jailbreak iOS 4.3 using sn0wbreeze 2.3b1 (Tethered)
How-to Jailbreak iOS 4.3 using sn0wbreeze 2.3b1 (Tethered)
iH8sn0w just released sn0wbreeze version 2.3 beta 1 to jailbreak iOS 4.3. It supports iPhone 4, iPhone 3GS, iPod Touch 4G, iPod Touch 3G and iPad 1.
Important notes about sn0wbreeze 2.3b1:
-
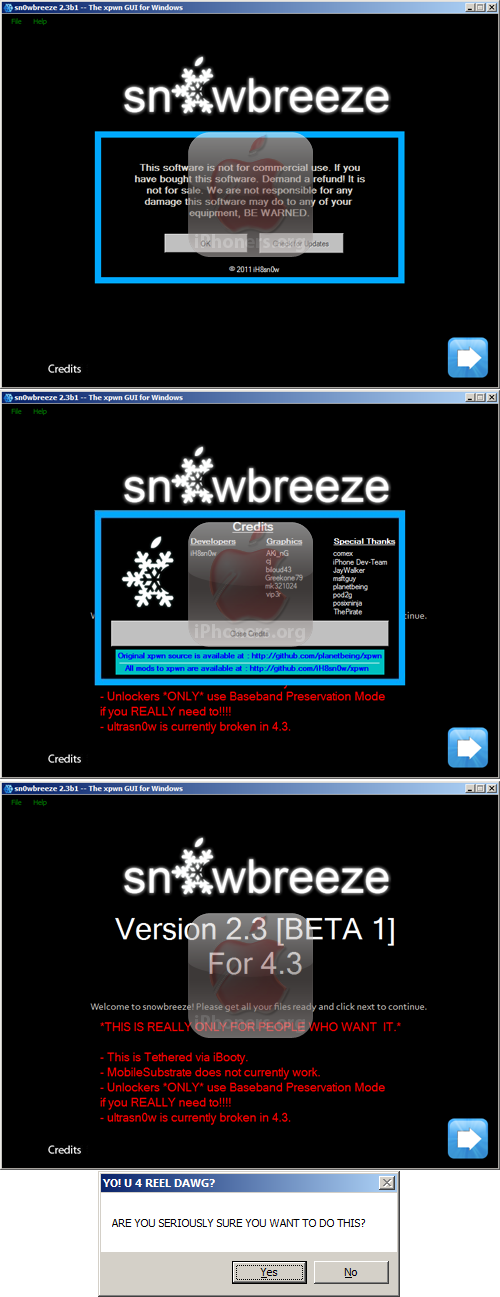
*THIS IS REALLY ONLY FOR PEOPLE WHO WANT IT.*
- This is Tethered via iBooty.
- Mobile Substrate does not currently work.
- Unlockers *ONLY* use Baseband Preservation Mode if you REALLY need to!!!!
- ultrasn0w is currently broken in 4.3.
Follow this guide to jailbreak iOS 4.3 using sn0wbreeze 2.3b1 (Tethered).
- Download these required things:
- Run sn0wbreeze-2.3b1.exe inside the sn0wbreeze-2.3b1.zip
- sn0wbreeze will display commercial use warning → click OK → display credits → click Close Credits → There will be a warn that “*THIS IS REALLY ONLY FOR PEOPLE WHO WANT IT.*” as the warning above → click Next (Blue arrow button in the right bottom) → click Yes on the warning.
- Now, choose the iOS 4.3 IPSW file of your device which you have downloaded on the step 1. Click Browse → select location of IPSW file and choose the file → click Open → wait while sn0wbreeze identifying IPSW. Once IPSW verified → click Next (Blue arrow button in the right bottom).
- There are three modes on sn0wbreeze. Baseband Preservation Mode, Simple Mode, and Expert Mode.
- Baseband Preservation Mode:
- Simple Mode:
- Expert Mode:
This mode ONLY preserves the iPhone’s baseband. It does not
Jailbreak or Unlock the actual device. All other modes still
do preserve the baseband.Recommended for people that dont know what to add.
Simple Mode adds Cydia, afc2, SSH for Apple TV, and other
recommended stuff automatically.Expert Mode lets you have all customizing options at your disposal
Such as custom boot logos, root partition size, installer options
and unlocks.Which to select? Select Simple Mode is recommended if you are not an expert. If you are en expert, you will not need to read this guide anyway 😛
- Select Simple Mode → click Next (Blue arrow button in the right bottom).
- Do you want to activate your iPhone?
This typically good for people on unofficial carriers that need to activate.
- Select Yes if you need to hacktivate your iPhone. This hacktivation will fix “Connect to iTunes and Emergency call” screen, also fix iTunes if it asking for official sim card for activation purpose (iTunes displaying: The SIM card inserted in this iPhone does not appear to be supported message).
- Select No if you want to activate your iPhone using official carrires (micro) SIM card
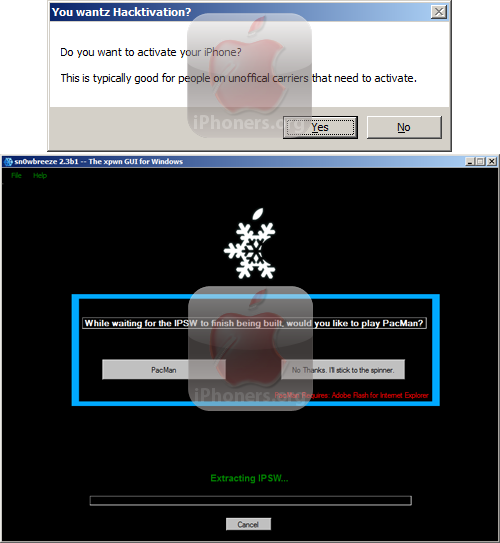
- Please wait while sn0wbreeze building custom IPSW firmware. While waiting for the IPSW to finish being built, would you like to play PacMan? Click PacMan to play it, or “No Thanks. I’ll stick to the spinner.” to dismis this question, or do nothing and wait until sn0wbreeze finished building custom firmware.
- Once done, press OK button to follow the onscreen instructions to put device in a restorable state.
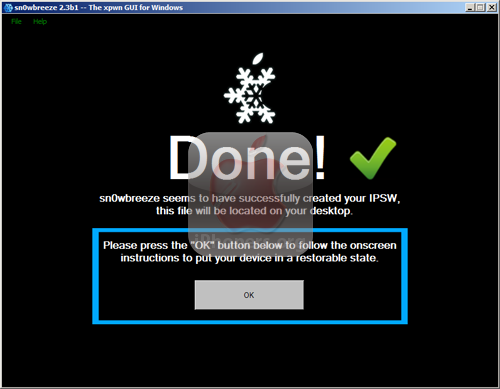
- Follow the onscreen instruction to put device into PWNED DFU mode (using iReb –will be done automatically by sn0wbreeze).

Don’t worry, if you failed to enter DFU mode, you can re-try from entering DFU mode, not start from the scratch again.
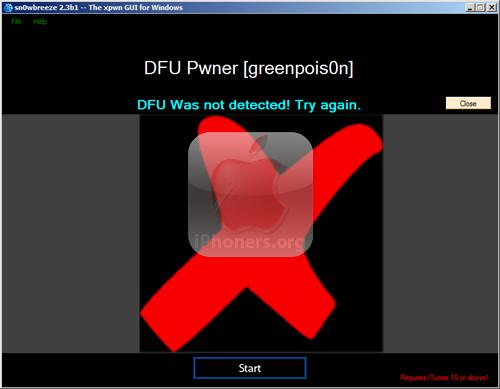
- Once successfully entered DFU mode, sn0wbreeze will run iReb and prompt this message: Your device is now in a PWNED DFU state (black screen).
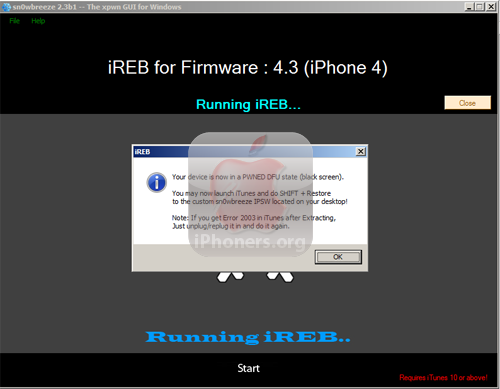
- Without clicking the OK button on iReb → now open iTunes on your computer. Restore the firmware using shift + restore method.
- Choose the custom firmware file which is built by sn0wbreeze, the IPSW file should be located on Desktop (filename: sn0wbreeze_iPhone 4-4.3.ipsw)
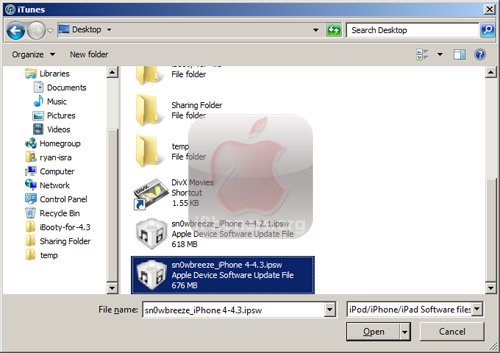
- Once the firmware is completely restored, device will reboot and may stuck at apple logo.
- Run iBooty.exe inside iBooty-for-4.3 folder on your Desktop (these folders and files were created by sn0wbreeze)
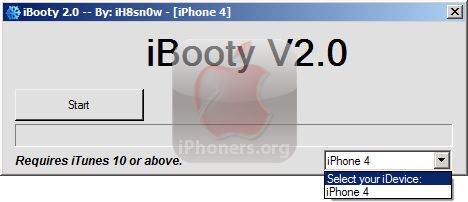
Select your iDevice → click Start → follow the guides how-to enter DFU mode
- Done. Each time your device reboots, you need to run iBooty for 4.3

If you do not like tethered jailbreak for iOS 4.3, you can downgrade to 4.2.1 using TinyUmbrella and wait for untethered jailbreak.
Watch this guide on YouTube:


 Jailbreak